Avalanche Safety

Where Do Avalanches Occur?

Above Tree Line and Below Tree Line:

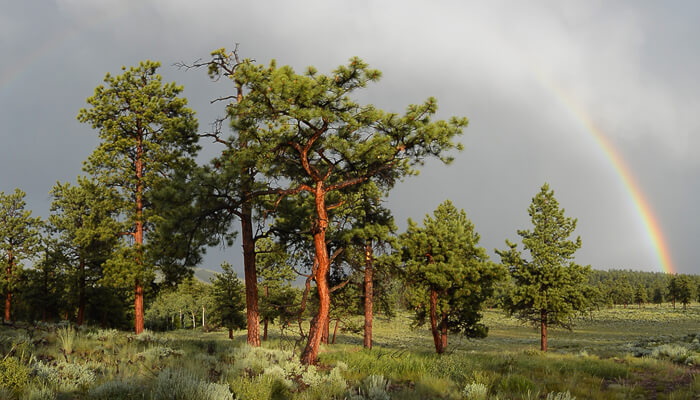
Avalanches are more likely to occur above tree line where there is more exposure to the sun, wind loading, and less terrain features to hold the snow in place. However, avalanches can and do happen below tree line. Do not make the mistake of thinking just because you’re in the trees you’re safe.

Snow Load and Slope Directions:

Slopes that face the wind tend to have larger accumulations of snow drifts along with deeper, heavier snow which can lead to an avalanche. In the northern hemisphere, slopes that are facing south, south east and south west get more exposure to the sun in the winter which leads to more faceting of the snow which can create dangerous weak layers that are prone to sliding with new snow fall. North facing slopes see less sun and this can lead to deeper snow in some instances but be aware that the wind can change any snow pack on any aspect.

Know your slope angles:

The saying is “any slope can slide at any time.” The most dangerous angled slopes are around 33 to 35 degrees, but an avalanche can occur on any slope that is between 23 and 45 degrees.

When Do Avalanches Occur?

Avalanches typically occur when early or mid season snowpack forms the first few layers of snow for the year and is then exposed to the freeze-and-thaw cycle throughout the day. During the freeze and thaw cycle, the snow crystals can facet or change shape – essentially becoming little ball bearings. As new snowfall continues throughout the season, that new snow is now sitting on what is known as a weak layer that can eventually slide under its own weight or due to other natural forces or human contact.

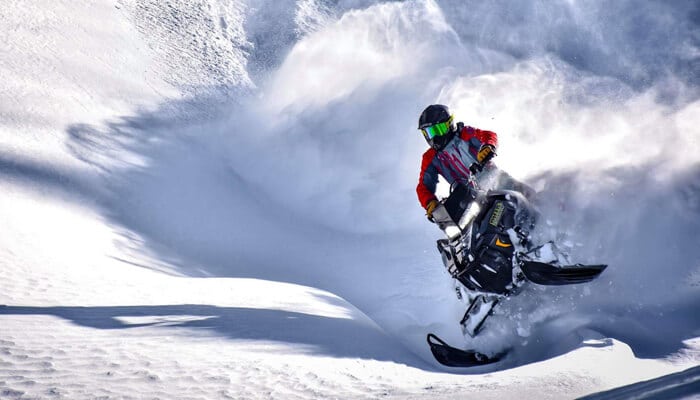
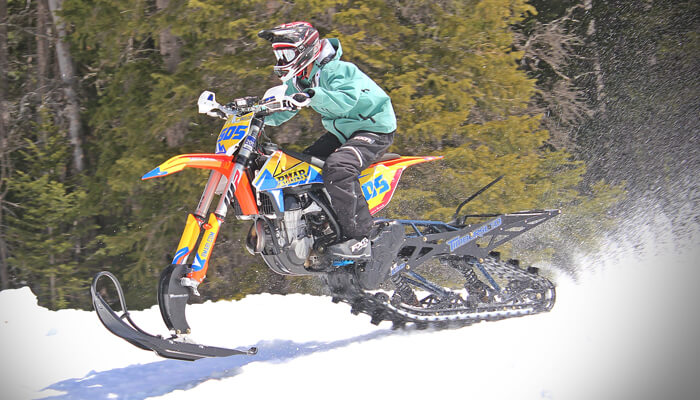
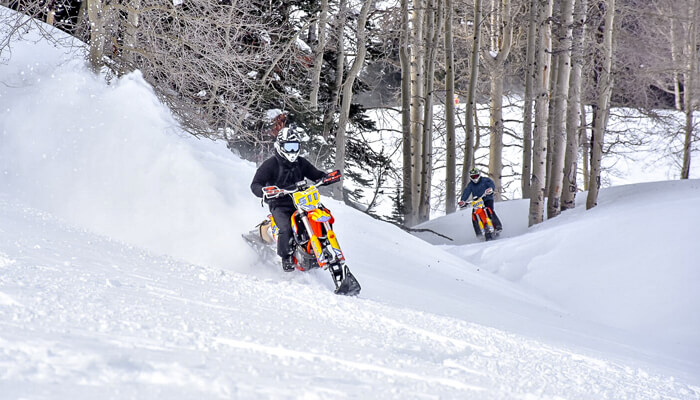
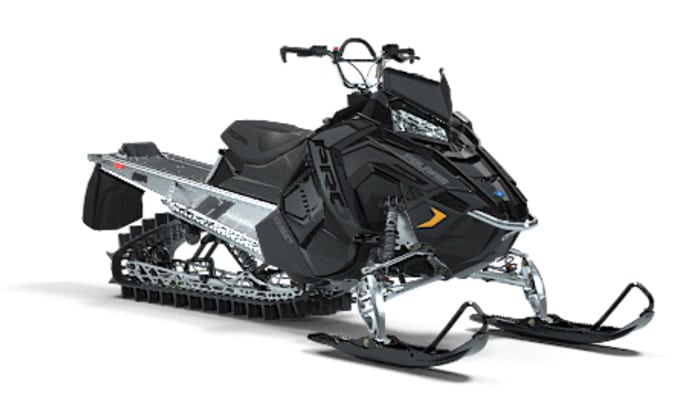
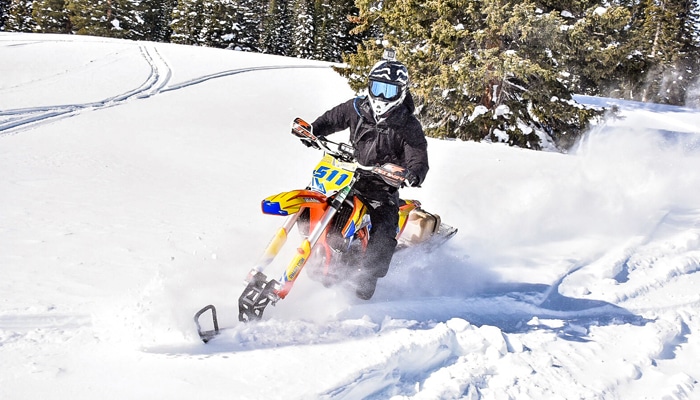
Human activities like hiking, snowshoeing, skiing, snowboarding, snowmobiling and snow biking can all stress the snowpack as we travel across the snow and can possibly trigger an avalanche. Snowmobiling and snow biking are especially dangerous because the weight of the machinery has the ability to affect deeper layers of the snowpack. When large amounts of new snow falls, the layers underneath must adjust to the new weight. This is why avalanche dangers are elevated after each new snow fall.

Avalanche Safety: How to Avoid Avalanches

Research and Planning:

When there is fresh snow, large temperature swings during the day and night, signs of other slides that have happened, whoomfing and cracking, and when CAIC says the avalanche danger is elevated, these are all signs that extra caution must be taken and travel plans must change accordingly.

Know Your Terrain:

Less-steep terrain, staying below tree line, traveling on ridges, not traveling alone, carrying the bare minimum beacon shovel and probe and knowing how to use them are all things that can help mitigate avalanche danger. Staying below the tree line is usually safer but not always. Slides can and DO happen below tree line.

Take an Avalanche Safety Course:

Avalanche awareness courses are offered all over the state of Colorado and most other states that have mountains and snow. Take a course, get educated, protect yourself, friends, family and all other winter recreationists of all activities.

Traveling in Groups:

When traveling in a group, your avalanche awareness starts before arriving to the trailhead. Check to see if you can spot avalanches on your way to the trailhead? Do you hear whoomfing and cracking? Is there a known weak layer or layers of snow in the area where you plan to recreate? Have you checked the avalanche conditions and reports on the Colorado Avalanche Information Center or CAIC? Has a lot of fresh snowfall occurred in the last few days or weeks in the area?

Fresh snow fall is when most people would prefer to recreate in the mountains in the winter. This is also the time when weak layers below the new snowfall are being stressed the most and slides are more likely to happen. Spring snow in Colorado tends to be much heavier and can stress snow layers below even more.

When traversing suspect slopes it’s best practice to:

1. Send one person at a time.
2. Never ride above a cornice or steep wind loaded slope.
3. Never ride near rocks and trees that are sticking out of the snow.
4. DO NOT traverse or travel above someone.
5. When gaining altitude, stick to ridge lines where there are no obvious slide paths above your line of travel.

Use Good Judgement:

Think twice before becoming a participant in high pointing. High pointing is a competition to see who can ride to the highest and steepest point on a steep mountain side for bragging rights. A little fun like this can turn ugly very quickly. Enjoy the wild places Mother Nature has to offer, but with great respect and caution.

Ride with a Guide:

If all of this scares you- it should! Many people in Colorado are caught in avalanches each year. However, it is possible to navigate Colorado’s mountainous terrain safely in all conditions. The guides at Rocky Mountain Adventure Rentals are experts at backcountry travel and can help keep you, your family, and your friends safe while timbersledding and snowmobiling. If you are new to the sport or do not have proper training, hiring a trained guide to ride with you is the best decision you can make.

Guided Timbersled Tours: Cottonwood Pass

Experience Cottonwood Pass near Buena Vista on a Guided Timbersled Tour. Learn more about Timbersledding Cottonwood Pass

[lightframe shortname=”rmar1″ fallback=”simple” full_items=”yes” flow=”no” view_item=”202837″ class=”fh-button-flat-orange fh-shape–square fh-icon–cal”]Book Now: Cottonwood Pass[/lightframe]

Guided Timbersled Tours: St. Elmo

Explore the advanced terrain of St. Elmo near Buena Vista on a Guided Timbersled Tour. Learn more about Timbersledding St. Elmo

[lightframe shortname=”rmar1″ fallback=”simple” full_items=”yes” flow=”no” view_item=”202843″ class=”fh-button-flat-orange fh-shape–square fh-icon–cal”]Book Now: St. Elmo[/lightframe]
Backcountry Gear Checklist

Backcountry Gear: Don’t wipe with that

tips and tools for a safe backcountry experience.

It’s a beautiful day and you decide to head out to experience the great outdoors. Knowing that the weather can change at any moment, you begin to ask the question “How do I pack for the outdoors?” or “What should I bring with me?”. Having a backcountry gear checklist is essential when it comes to planning your next outdoor adventure.

To begin, start by choosing the right pack.

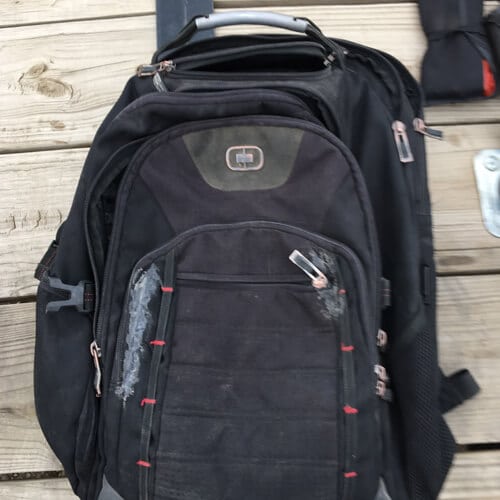
Before you can even begin to think about what goes into your pack, you first need to determine which pack to bring. Your pack should be durable, preferably made with waterproof or water resistant material. It should also be comfortable for you, even if you are heading out in a vehicle, you never know when you may need to walk. A 30-40 liter pack is a great size for a single day expedition.

Backcountry Gear Checklist:

There are hundreds of outdoor brands out there and even more gadgets. To help simplify the options, Let’s break down backcountry gear into 5 groups:

1. water/food storage
2. outer-wear
3. shelter
4. communication
5. first aid.

Water and food:

Being able to purify or filter water when exploring is the only way to ensure that you will have enough to stay hydrated. Make sure you practice with the pumps and filters. If you decide to use chemicals to purify water, make sure that you fully understand the correct ratios to safely use them. Many chemicals will leave an aftertaste in the water that most people find unpleasant, but they are very reliable and will not break like a mechanical filter. A water bottle that can also be used to boil water is a good way to purify water, but requires you to carry a stove or start a fire.

For day hikes, some lightweight snacks like granola bars, trail mix, chocolate and other high calorie foods are preferred. Keep in mind that animals love gray jays and marmots and squirrels are very good at finding your snacks. Don’t leave your food or pack unattended; it’s no fun to find a big hole or a chewed strap in your pack.

1. Water Filter or Filter Tablets (Chemical Tablets)
2. Water Bottle
3. Trail Snacks

Outerwear:

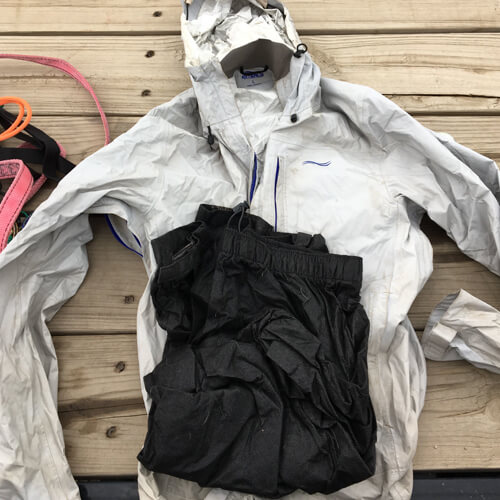
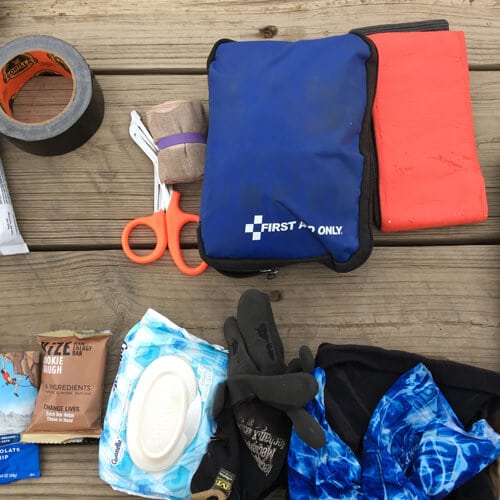
This is the most complicated part of trip planning and you should take the time to test out and get comfortable with this gear. Depending on the environment or time of year, you may need more or less, but a poncho or light rain gear is always recommended. gloves, a hat and sturdy hiking shoes are also recommended. For waste management, a small shovel, wet wipes and wag bags will keep you clean and happy.

1. Rain Gear
2. Gloves
3. Hats (knitted for warmth, baseball cap for sun)
4. Hiking Shoes or Boots

Shelter:

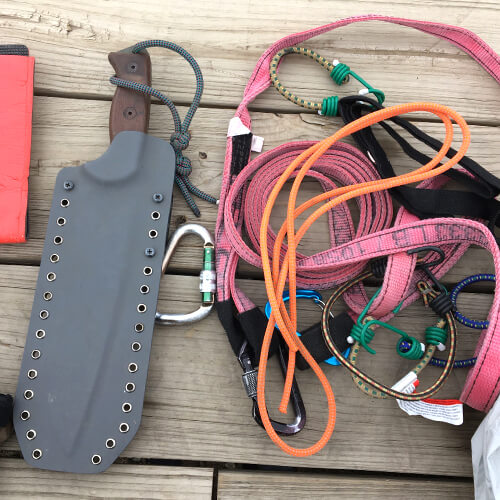
A poncho or tarp can double as a small shelter and there are many ultra light tents out there. Some bungees or 550 cord, and a sturdy knife will make creating these shelters much easier as well. Shelter also includes fire making supplies.  Flint and steel, matches, and stoves are very handy but require skill and practice to use safely. Please ensure that fires and stoves are permitted in the area you are exploring and practice the Leave No Trace principles. Patches, duct tape and a sewing kit are also great items to pack for the wear and tear that your gear will experience.

1. Tarp or Light Tent
2. Bungees or 550 cord*
3. Dependable Knife
4. Patches
5. Duct Tape
6. Sewing Kit

7. Flint and Steel
8. Matches
9. Stove


What is 550 cord?

The cord originally used on the Soldiers’ parachutes in WWII was known as “paracord”. 550 cord is simply paracord with a minimum breaking strength of 550 pounds.

Communication:

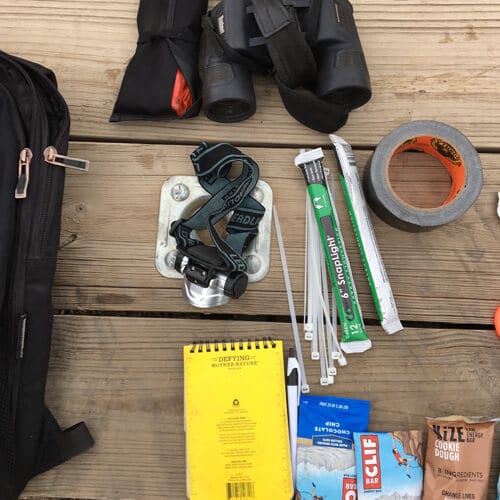
Handheld GPS, phones, InReach and other devices are great but are mechanical and can fail.  Do not rely solely on mechanical devices. Always let someone know your trip plans including the routes being used, activities you will be doing, and when you will be back. If you are using maps, ensure that everyone in you group knows where they are and that they understand how to use them. A notepad and pencil can be very helpful in emergencies as well.

1. Handheld GPS
2. Topo Maps
3. Compass
4. Notepad and Pencil

First aid: Get trained!

Basic first aid and CPR is highly recommended for anyone in the backcountry, but Wilderness First Responder classes and EMT training are even better. Check that the others in your group also have this training and have any medications they are prescribed. After you have the training, you will understand how to assemble a first aid kit and what tools you need in the specific area(s) you are vsiting. Splints, wound/bleeding management and breathing barriers are the basics but be sure to find a kit that suits your activity.

1. Splints
2. Bandaids
3. Surgical Tape
4. Surgical Glue
5. Elastic Bandages

Having a well stocked pack is essential. In time, you will find which backcountry gear works best for you. Outdoor enthusiasts love talking about gear, so don’t hesitate to ask! The more time you spend in the outdoors, the more capable you will become and you never know when a situation might arise that you will be glad you have these tools.


Protect Your Colorado Rivers and Reservoirs

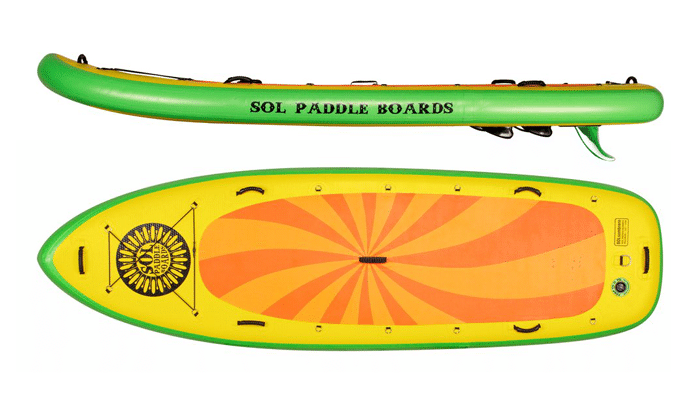
Always Clean, Drain, and Dry your boat, kayak, raft or paddle board (SUP)

Colorado is home to over 30 major rivers, 40 reservoirs, and countless lakes and streams. With the growth of invasive species being introduced throughout our bodies of water, it is important to practice sustainable behaviors when traveling between bodies of water.

Many states including Colorado are passing new laws in an effort to curb the spread of invasive species and it’s up to you to know the requirements of each body of water that you’ll be visiting. This article is intended to cover the basics to help point you in the right direction.

What are invasive species?

Invasive species are microbes, plants, and animals that find their way to areas that are not considered their natural habitat. Once established in a new location, invasive species can threaten the biodiversity of the new location and cause significant ecological and environmental damage.

Steps to Protecting Colorado Water

1. CLEAN:

Always clean your boat/SUP and gear using the water you just floated in. Remove sand, mud, and vegetation.

2. DRAIN:

Remove the standing water that is left in your boat/SUP and gear by draining it out. Use a towel or sponge to remove any water that is left in creases or tight corners.

3. DRY:

Leave your boat/SUP in the sun to let it dry out thoroughly. The chances of spreading invasive species is much lower if all of your gear is dry to the touch.

ALWAYS:

Stop at each inspection station as required by law. The size of your watercraft whether it is a kayak, paddle board, raft, or boat does not matter. The inspection is mandatory. If you have followed the above three steps, the inspection should be quick and painless.

SUP Board Rentals

Paddle Board Rentals

Call: 970-471-8491

Paddle Board Rentals from Rocky Mountain Adventure Rentals. Pick up from our Eagle-Vail location. Many sizes to choose from.

Colorado River Flows

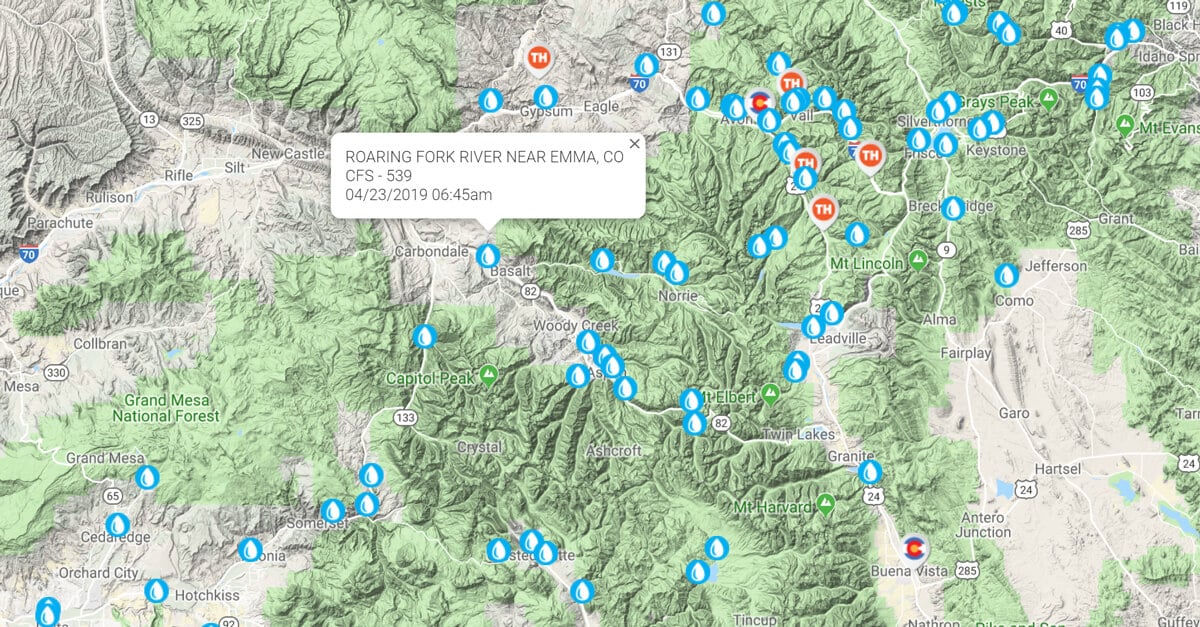
Visit our Colorado River Map to check in on up-to-the-minute river flows. All data is collected from the United States Forest Service and is updated every 15 minutes. 

What is Altitude Sickness

Dr. Lindsey Nelson explains.

Altitude sickness

—also known as acute mountain sickness (AMS), is a medical problem when we are exposed to high altitude low partial pressure of oxygen usually following a rapid ascent to an elevation above 8,000ft  (82400m).   Common symptoms of altitude sickness resemble the ordinary flu or feeling “hung-over”.   Therefore, people with AMS frequently complain of headache, fatigue, upset stomach, dizziness, and restless sleep.  Furthermore, it is hard to determine who will be affected by altitude sickness, as there are no specific factors that correlate with a susceptibility to AMS.    Anyone who travels to altitudes of over 2500m or 8,000ft is at risk of acute mountain sickness. Normally it doesn’t become noticeable until you have been at that altitude for a few hours. Part of the mystery of acute mountain sickness is that it is difficult to predict who will be affected. It is not uncommon to hear stories of young athletic individuals being badly limited by symptoms of AMS while older members doing the same activity have felt fine.   Do NOT be fooled by AMS or take it lightly. The dangers of this illness can be severe and every year people die of this physiological derangement when left unrecognized and untreated as AMS can progress to the potentially fatal high altitude pulmonary edema (HAPE) or high altitude cerebral edema (HACE).


What causes altitude sickness?

Two things are certain to make altitude sickness very likely – ascending faster than 500m per day, and exercising vigorously.   This includes the many people that come to Colorado on vacation to enjoy our outdoor activities.   Utilizing one of the outdoor “toys” at Rocky Mountain Adventure Rentals, LLC will potentially allow you a quicker ascent than was possible before.  REMEMBER: Physically fit individuals are not protected – even Olympic athletes get altitude sickness. Altitude sickness happens because there is less oxygen in the air that you breathe at high altitudes.  As you may have noticed, you may feel more parched at our altitude so it is also likely, that dehydration due to the higher rate of water vapor loss at higher altitudes may contribute to the symptoms of AMS.

The AAAs that influence AMS susceptibility

  • Ascent Rate
  • Altitude Attained
  • Activity Amount

The Three Forms of Altitude Sickness

Acute Mountain Sickness (AMS)

Mild altitude sickness is called acute mountain sickness (AMS) and is quite similar to a hangover – it causes headache, nausea, and fatigue. This is very common: some people are only slightly affected, others feel awful. However, if you have AMS, you should take this as a warning sign that you are at risk of the serious forms of altitude sickness: HAPE and HACE. Both HAPE and HACE can be fatal within hours.

  • Lack of appetite, nausea, or vomiting
  • Fatigueor weakness
  • Dizzinessor lightheadedness
  • Peripheral edema(swelling of hands, feet, and face)
  • Insomnia
  • Pins and needles
  • Shortness of breath upon exertion
  • Nosebleed
  • Persistent rapid pulse
  • Drowsiness
  • Excessive flatulation
  • General malaise

HAPE

HAPE is excess fluid on the lungs, and causes breathlessness. It is similar to when people with heart disease are in failure and have pulmonary edema.  It is NEVERnormal to feel breathless when you are resting – even on the summit of Everest. This should be taken as a sign that you have HAPE and may die soon. HAPE can also cause a fever (a high temperature) and coughing up frothy spit. HAPE and HACE often occur together.   DESCEND IMMEDIATELY!!

Pulmonary edema (fluid in the lungs)

  • Symptoms similar to bronchitis
  • Persistent dry cough
  • Fever
  • Shortness of breath even when resting

HACE

HACE is fluid on the brain. It causes confusion, clumsiness, and stumbling. The first signs may be uncharacteristic behavior such as laziness, excessive emotion or violence. Drowsiness and loss of consciousness occur shortly before death.  DESCEND IMMEDIATELY!!

Cerebral edema (swelling of the brain)

  • Headache that does not respond to analgesics
  • Unsteady gait
  • Gradual loss of consciousness
  • Increased nausea and vomiting
  • Retinal hemorrhage

Altitude sickness prevention

The body has an amazing ability to acclimatize to altitude, but it needs time. Ascending slowly is the best way to avoid altitude sickness. Avoiding strenuous activity such as skiing, hiking, etc. in the first 24 hours at high altitude reduces the symptoms of AMS.   AVOID alcohol and sleeping pills as they are respiratory depressants, and effectively slow down the acclimatization process and should be avoided. Alcohol also tends to cause dehydration and exacerbates AMS. Thus, avoiding alcohol consumption in the first 24–48 hours at a higher altitude is optimal.


Increased water intake may also help in acclimatization to replace the fluids lost through heavier breathing in the thin, dry air found at altitude, although consuming excessive quantities (“over-hydration”) has no benefits and may cause dangerous hyponatremia.


Can I take drugs to prevent altitude sickness?

As with everything, many ‘quack’ treatments and untested herbal remedies are claimed to prevent mountain sickness. These treatments can make AMS worse or have other dangerous side effects – many herbs are poisonous. Only one drug is currently known to prevent AMS and to be safe for this purpose: acetazolamide (diamox). The Centers for Disease Control and Prevention (CDC) suggest the same dose for prevention of 125 mg acetazolamide every 12 hours. Acetazolamide, a mild diuretic, works by acidifying the blood. This change in pH stimulates the respiratory center to increase the depth and frequency of respiration, thus speeding the natural acclimatization process. An undesirable side-effect of acetazolamide is a reduction in endurance performance. Other minor side effects include a tingle-sensation in hands and feet, and it can make carbonated drinks taste “flat”. Although a sulfonamide, acetazolamide is a non-antibiotic and has not been shown to cause life-threatening allergic cross-reactivity in those with a self-reported sulfa allergy.  This drug should only be taken at the direction of your primary care physician.


Prior to the onset of altitude sickness, ibuprofen is a non-steroidal anti-inflammatory that may help reduce the headache and nausea associated with AMS.

Author: Dr. Lindsey Nelson