Backcountry Gear: Don’t wipe with that
tips and tools for a safe backcountry experience.
It’s a beautiful day and you decide to head out to experience the great outdoors. Knowing that the weather can change at any moment, you begin to ask the question “How do I pack for the outdoors?” or “What should I bring with me?”. Having a backcountry gear checklist is essential when it comes to planning your next outdoor adventure.
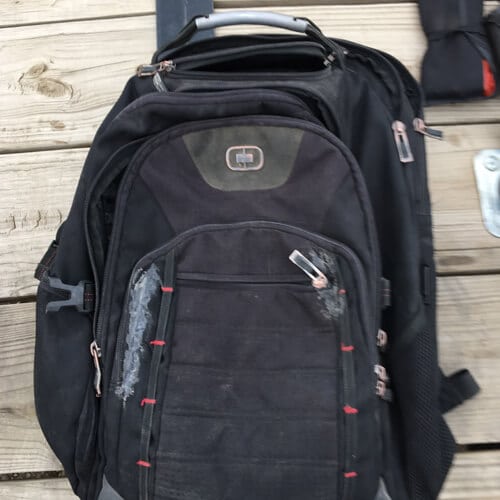
To begin, start by choosing the right pack.
Before you can even begin to think about what goes into your pack, you first need to determine which pack to bring. Your pack should be durable, preferably made with waterproof or water resistant material. It should also be comfortable for you, even if you are heading out in a vehicle, you never know when you may need to walk. A 30-40 liter pack is a great size for a single day expedition.
Backcountry Gear Checklist:
There are hundreds of outdoor brands out there and even more gadgets. To help simplify the options, Let’s break down backcountry gear into 5 groups:
1. water/food storage
2. outer-wear
3. shelter
4. communication
5. first aid.
Water and food:
Being able to purify or filter water when exploring is the only way to ensure that you will have enough to stay hydrated. Make sure you practice with the pumps and filters. If you decide to use chemicals to purify water, make sure that you fully understand the correct ratios to safely use them. Many chemicals will leave an aftertaste in the water that most people find unpleasant, but they are very reliable and will not break like a mechanical filter. A water bottle that can also be used to boil water is a good way to purify water, but requires you to carry a stove or start a fire.
For day hikes, some lightweight snacks like granola bars, trail mix, chocolate and other high calorie foods are preferred. Keep in mind that animals love gray jays and marmots and squirrels are very good at finding your snacks. Don’t leave your food or pack unattended; it’s no fun to find a big hole or a chewed strap in your pack.
1. Water Filter or Filter Tablets (Chemical Tablets)
2. Water Bottle
3. Trail Snacks
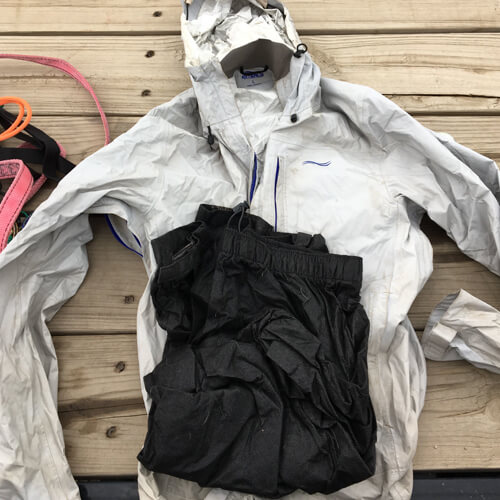
Outerwear:
This is the most complicated part of trip planning and you should take the time to test out and get comfortable with this gear. Depending on the environment or time of year, you may need more or less, but a poncho or light rain gear is always recommended. gloves, a hat and sturdy hiking shoes are also recommended. For waste management, a small shovel, wet wipes and wag bags will keep you clean and happy.
1. Rain Gear
2. Gloves
3. Hats (knitted for warmth, baseball cap for sun)
4. Hiking Shoes or Boots
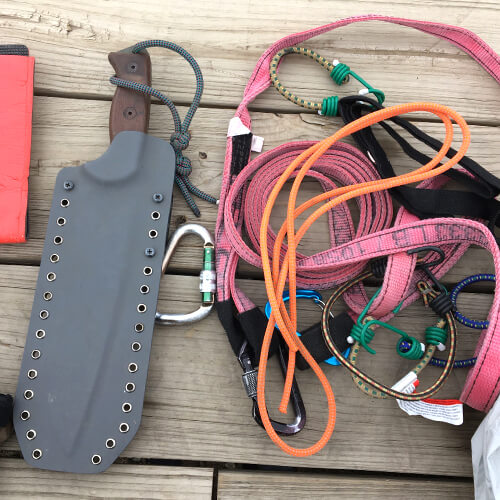
Shelter:
A poncho or tarp can double as a small shelter and there are many ultra light tents out there. Some bungees or 550 cord, and a sturdy knife will make creating these shelters much easier as well. Shelter also includes fire making supplies. Flint and steel, matches, and stoves are very handy but require skill and practice to use safely. Please ensure that fires and stoves are permitted in the area you are exploring and practice the Leave No Trace principles. Patches, duct tape and a sewing kit are also great items to pack for the wear and tear that your gear will experience.
1. Tarp or Light Tent
2. Bungees or 550 cord*
3. Dependable Knife
4. Patches
5. Duct Tape
6. Sewing Kit
7. Flint and Steel
8. Matches
9. Stove
What is 550 cord?
The cord originally used on the Soldiers’ parachutes in WWII was known as “paracord”. 550 cord is simply paracord with a minimum breaking strength of 550 pounds.
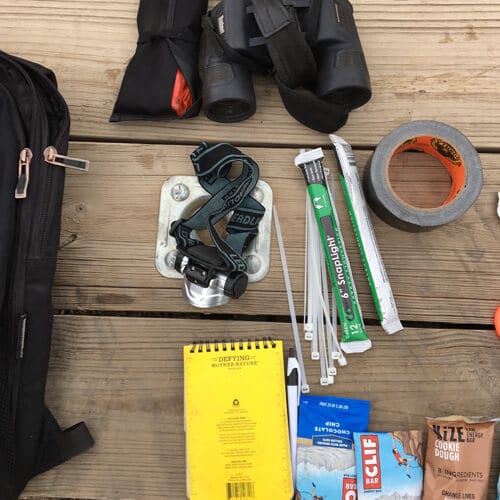
Communication:
Handheld GPS, phones, InReach and other devices are great but are mechanical and can fail. Do not rely solely on mechanical devices. Always let someone know your trip plans including the routes being used, activities you will be doing, and when you will be back. If you are using maps, ensure that everyone in you group knows where they are and that they understand how to use them. A notepad and pencil can be very helpful in emergencies as well.
1. Handheld GPS
2. Topo Maps
3. Compass
4. Notepad and Pencil
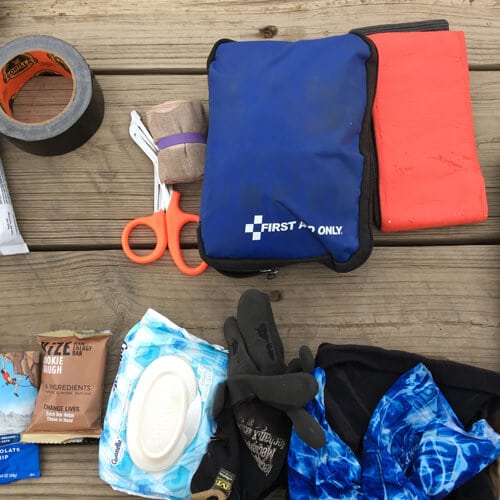
First aid: Get trained!
Basic first aid and CPR is highly recommended for anyone in the backcountry, but Wilderness First Responder classes and EMT training are even better. Check that the others in your group also have this training and have any medications they are prescribed. After you have the training, you will understand how to assemble a first aid kit and what tools you need in the specific area(s) you are vsiting. Splints, wound/bleeding management and breathing barriers are the basics but be sure to find a kit that suits your activity.
1. Splints
2. Bandaids
3. Surgical Tape
4. Surgical Glue
5. Elastic Bandages
Having a well stocked pack is essential. In time, you will find which backcountry gear works best for you. Outdoor enthusiasts love talking about gear, so don’t hesitate to ask! The more time you spend in the outdoors, the more capable you will become and you never know when a situation might arise that you will be glad you have these tools.